


Two backlit letters can use the same LEDs and the same acrylic back panel and still look completely different. The variable is often the distance between the letter and the wall. A tight gap gives a crisp outline; a wider gap gives a soft, floating halo. The right distance depends on the letter size, LED output, wall texture and viewing distance.
Quick answer: What halo gap should backlit letters use?
Start around 20–30 mm for a tight indoor halo, 40–60 mm for a balanced halo, and 70–100 mm for a softer exterior glow. The final gap depends on letter size, LED beam angle, wall texture and brightness. Approve the halo on a mockup before production.
This guide explains how the halo gap works, the practical starting ranges for indoor and outdoor signs, and the mounting details that keep the glow even.
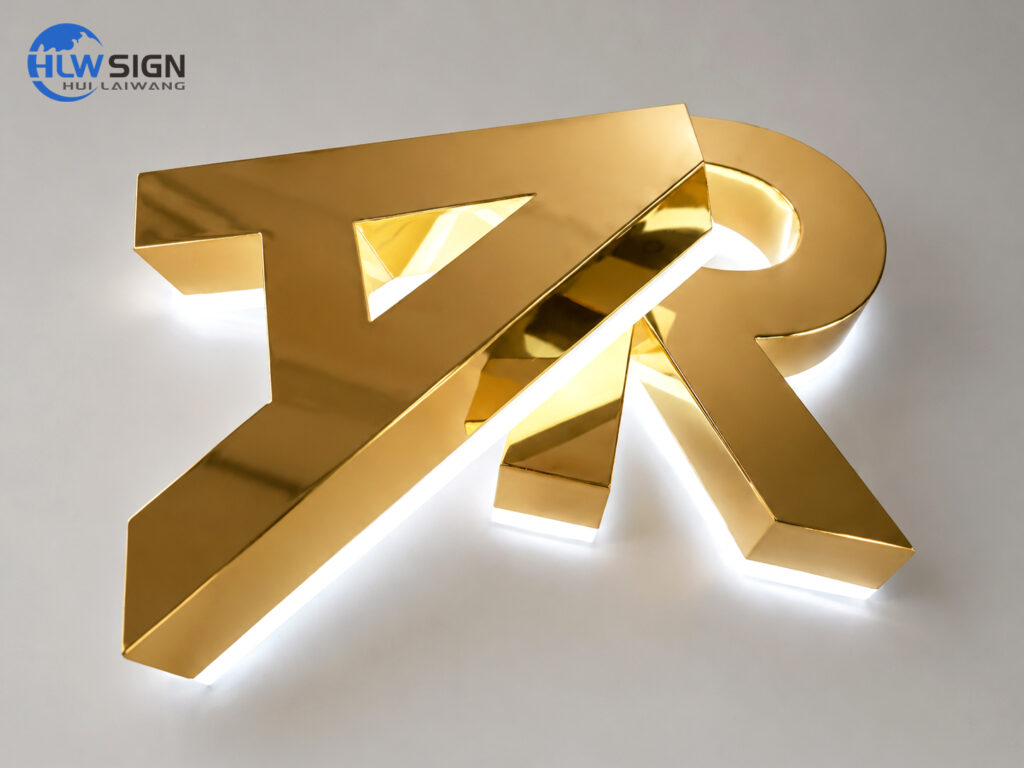
What Is the Halo Gap?
The halo gap is the distance from the back of the letter to the wall. It is created by standoffs, a raceway or a mounting frame. A backlit letter uses LEDs behind the return; the light hits the wall and reflects outward, creating a glow around the letter shape.
The gap is not the same as the return depth. Return depth is the depth of the letter itself; halo gap is the space between the letter and the wall. Both affect the look, but they are separate dimensions on the shop drawing.
How the Gap Changes the Look
| Gap | Visual result | Typical starting use | Main watch-out |
|---|---|---|---|
| 20–30 mm | Tight, crisp outline | Flat indoor walls and compact letters | Wall unevenness becomes more visible |
| 40–60 mm | Balanced halo with a clear edge | Many storefront and interior signs | Match LED pitch and beam angle |
| 70–100 mm | Wide, soft floating glow | Large feature walls and selected exteriors | May need more light and a stronger mount |
| Over 100 mm | Very soft, highly diffused effect | Large architectural compositions | Can look washed out on small or dark signs |
These are starting points, not fixed rules. The letter size, LED pitch, beam angle, wall colour and viewing distance all change the result. A mockup at the actual gap is the fastest way to choose.
Indoor and Outdoor Gap Ranges
Indoor letters often use a tighter gap because the viewing distance is short and the wall is controlled. A 20–50 mm gap is common for reception walls and interior brand features. The light can be softer and the output lower.
Outdoor letters usually need a larger gap to handle wall texture, rain and wind-driven debris. A 40–80 mm starting range is common, but the bracket or raceway must be engineered for the load. For an exterior backlit channel letters project, the gap should be part of the fixing drawing, not decided on site.
Outdoor assemblies also need an IP rating that matches the exposure. The IEC 60529 standard explains the IP code; confirm the rating for the LEDs, connectors, driver and enclosure as one system.
LED Output, Beam Angle and Diffusion
A wider gap needs more light or a wider beam. If the LEDs are too concentrated, the wall shows a bright spot near each module; if the output is too low, the halo fades before it reaches the letter edge. The LED pitch and beam angle should be selected for the gap, not copied from a different sign.
The acrylic back panel also matters. A thicker panel can diffuse the light more evenly, but it may absorb a little output. See the backlit acrylic thickness guide for the panel side of the decision. The U.S. Department of Energy’s LED Basics explains why the driver current and thermal design affect the useful life of the LED system.
Wall Material and Colour
A matte dark wall absorbs light and makes the halo look narrower; a light matte wall reflects more and can make it look wider. Glossy stone or glass can create a second reflection that competes with the halo. Textured brick or stone breaks the glow into small shadows, so the gap may need to be larger or the wall may need a smooth backer panel.
The backlit letter color temperature also changes the perceived halo. Warm white feels softer on stone and wood; cool white looks crisper on glass and metal. Test the wall, LED and gap together.
Mounting Methods
Flush mount: the letter sits close to the wall with a small standoff. It gives a tight halo and a minimal look, but the wall must be flat and the fixing must be precise.
Standoff mount: fixed spacers hold the letter away from the wall. The standoff length sets the gap, and the fixing must carry the weight and wind load.
Raceway mount: a metal channel carries the wiring and drivers and provides a mounting base. It creates a consistent gap and simplifies service access. For large letters, a raceway is often easier to engineer than individual standoffs.
Whatever the method, start with a 1:1 template and check the wall substrate before drilling. Follow a proper channel letter installation sequence and confirm the power location before the sign arrives. For double-sided or suspended letters, dual-sided illuminated letters need a frame that keeps both sides and the wall gap consistent.
Cost and Engineering
A larger gap usually means longer standoffs, a deeper raceway or a stronger bracket. That adds material, freight volume and installation time. It may also require more LED output to keep the halo bright, which adds power and heat. The cheapest gap is not always the best-looking one, and the widest gap is not automatically premium. When comparing running costs, use comparable light-source data such as the EU light-source product information.
For a store front sign, compare the halo at day and night. A gap that looks elegant in a dark rendering can look thin in daylight or washed out under street lighting.
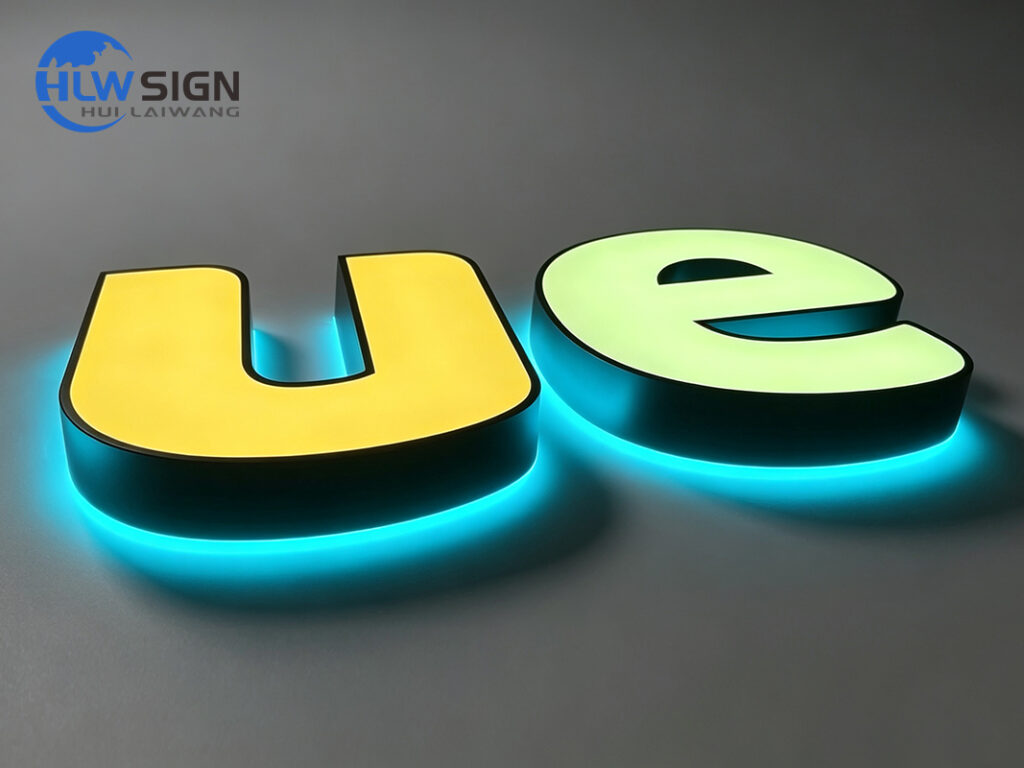
Specification Checklist
- Letter size and stroke: confirm the gap against the letter height and stroke width; check the channel letter sizes.
- Gap dimension: show the distance from the back of the return to the finished wall, not just the standoff length.
- Wall substrate: confirm flatness, texture and fixing points.
- LED output and beam: specify the module, pitch and beam angle for the chosen gap.
- Diffusion: confirm the acrylic thickness and diffuser grade.
- Sealing and IP rating: specify the rating for the complete outdoor assembly and confirm the UV-exposure data for every plastic component.
- Electrical: keep the driver accessible and follow the local code; NFPA 70 (NEC) is a useful reference for wiring and disconnects.
- Mockup: approve the halo on the actual wall colour or a matched sample.
For the acrylic back panel, compare the manufacturer’s technical data rather than a generic material name; Plaskolite’s acrylic sheet resources show the type of grade, thickness and UV information a sign buyer should request.
Common Mistakes
The most common mistake is choosing the gap from a rendering without testing the wall. The second is increasing the gap without increasing LED output or beam angle. The third is using a flush mount on an uneven wall and expecting a crisp halo.
Other issues include ignoring the driver location, sealing the letter without drainage, and mixing colour temperatures between letters. A halo sign is a lighting system; the gap, LED, diffuser, wall and mounting should be approved together.
Frequently Asked Questions
What is the best halo gap for backlit letters?
There is no universal number. Start around 20–30 mm for a tight indoor halo, 40–60 mm for a balanced look, and 70–100 mm for a soft exterior halo; confirm with a mockup and the LED layout.
Does a larger gap make the halo brighter?
No. A larger gap spreads the light over a wider area and can make it look dimmer unless the LED output or beam angle is increased.
Can I use the same gap indoors and outdoors?
Not automatically. Outdoor signs need a gap that accommodates wall texture, wind, rain and the mounting bracket. The sealing and IP rating also have to suit the exposure.
How do I avoid a bright spot on the wall?
Match the LED pitch and beam angle to the gap, use a suitable diffuser and test the assembly. A wider beam or additional diffusion can soften the hot spot.
Does the wall colour change the halo?
Yes. Dark matte walls absorb light and make the halo look narrower; light or glossy walls reflect more and can widen or double the glow.
How do I specify the gap on a shop drawing?
Show the distance from the back of the letter return to the finished wall, the standoff or raceway dimension, the fixing points and the driver location. Do not leave it as “install with a small gap”.
Conclusion
The halo gap is one of the most visible decisions in a backlit letter, and one of the easiest to get wrong. Choose the gap with the LED output, diffuser, wall and mounting in mind, then approve a mockup before production. A tight gap is crisp; a wider gap is soft; the right answer is the one that fits the wall and the brand.
For the wider material, lighting and mounting specification, see the channel letter technical reference.
If you are planning a backlit sign, send the letter sizes, wall material, viewing distance and desired halo; HLW Sign can review the gap and prepare a custom signage proposal with a mounting drawing and sample plan.